Published
- 2 min read
Moving your application deployment from netlify to cloudflare

Moving your application depployment from Netlify to Cloudflare
- Login to your cloudflare dashboard
- In Account Home, select Workers & Pages
- Select Create application > Pages > Connect to Git
- Once you have selected a Git repository, select Install & Authorize and Begin setup
- Your project name will be used to generate your project’s hostname. By default, this matches your Git project name
- Production branch indicates the branch that Cloudflare Pages should use to deploy the production version of your site. For most projects, this is the main or master branch. All other branches that are not your production branch will be used for preview deployments.
- Depending on the framework, tool, or project you are deploying to Cloudflare Pages, you will need to specify the site’s build command and build output directory
- Find your build command and build directory. Cloudflare Pages will use this information to build and deploy your application
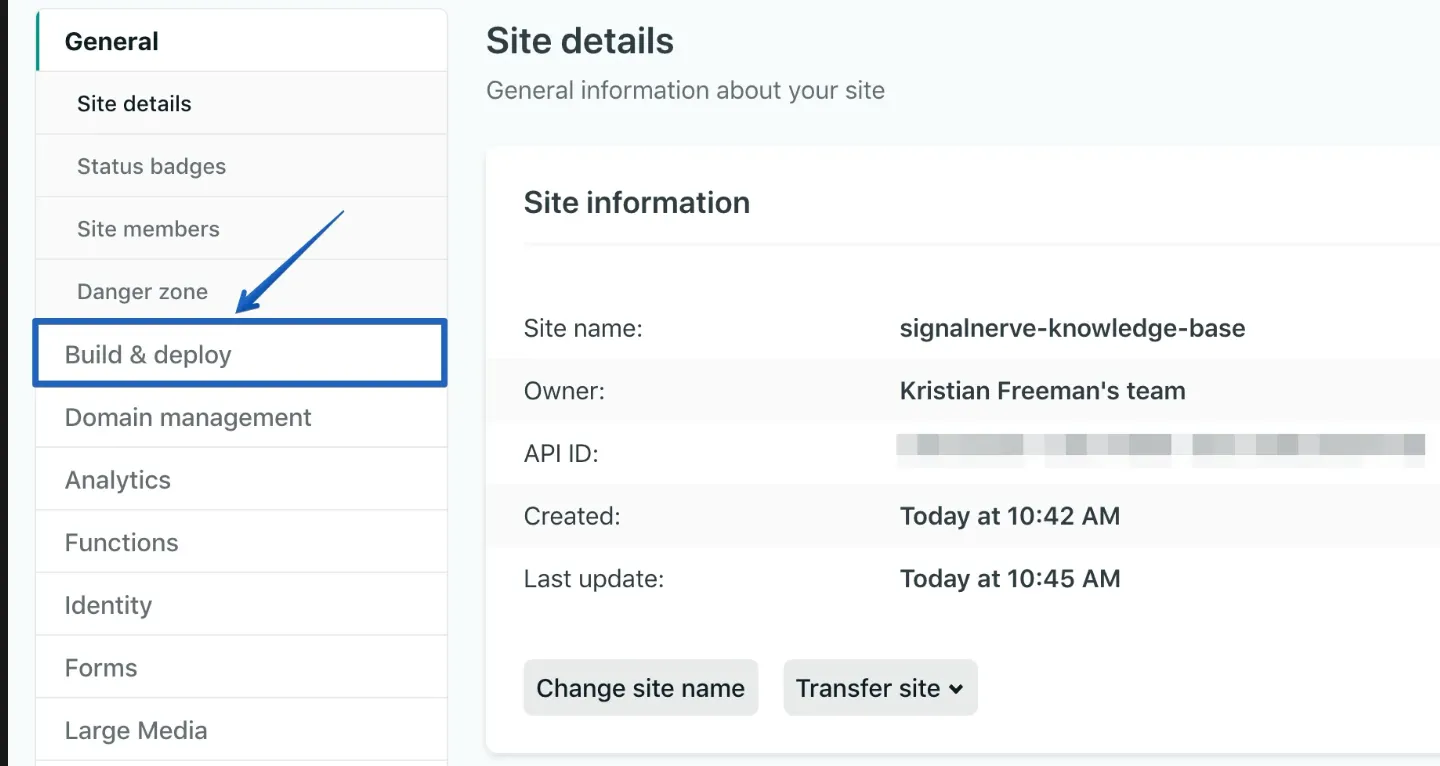
- In your Netlify Dashboard, find the project that you want to deploy. It should be configured to deploy from a GitHub repository
- Inside of your site dashboard, select Site Settings, and then Build & Deploy.
You will be prompted to sign in with your preferred Git provider. This allows Cloudflare Pages to deploy your projects, and update your PRs with preview deployments.
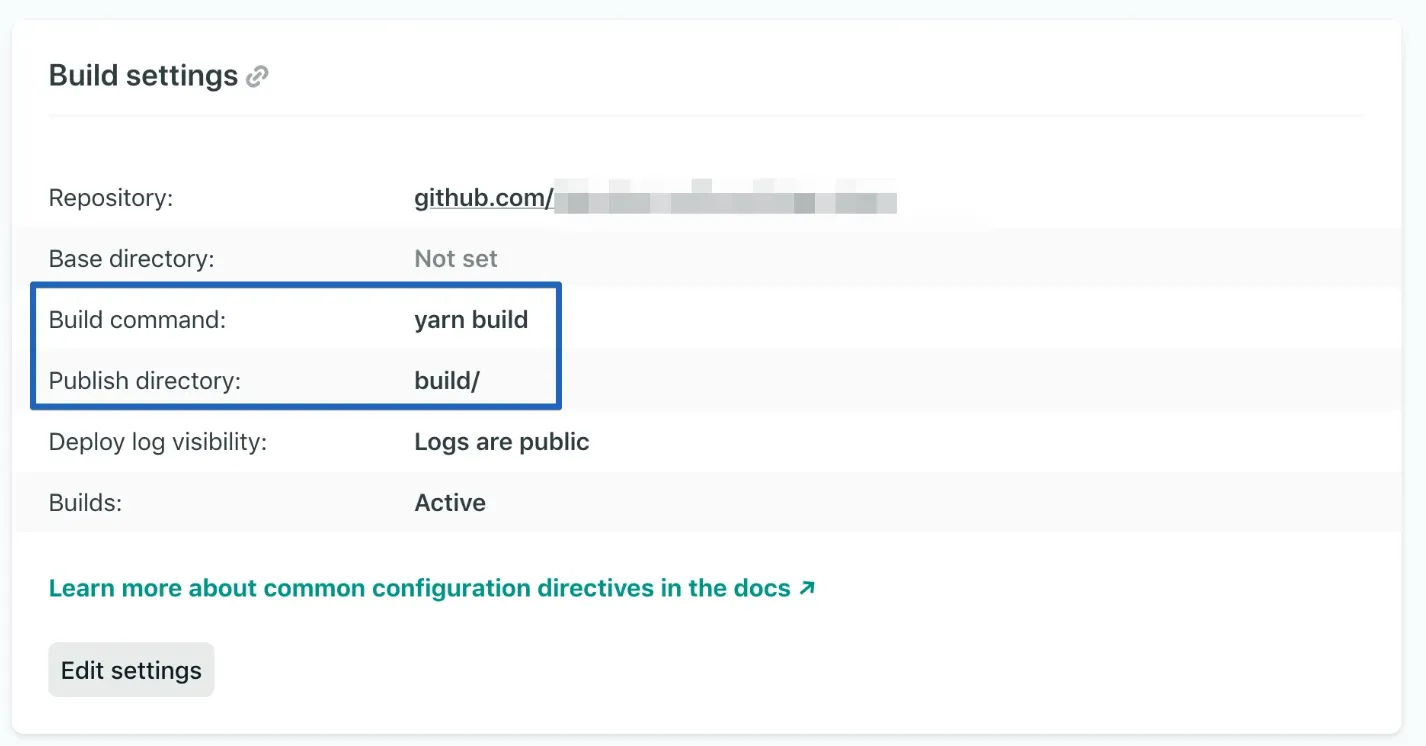
- In the Build & Deploy tab, find the Build settings panel, which will have the Build command and Publish directory fields.
Save these for deploying to Cloudflare Pages. In the below image, Build command is yarn build, and Publish directory is build/.